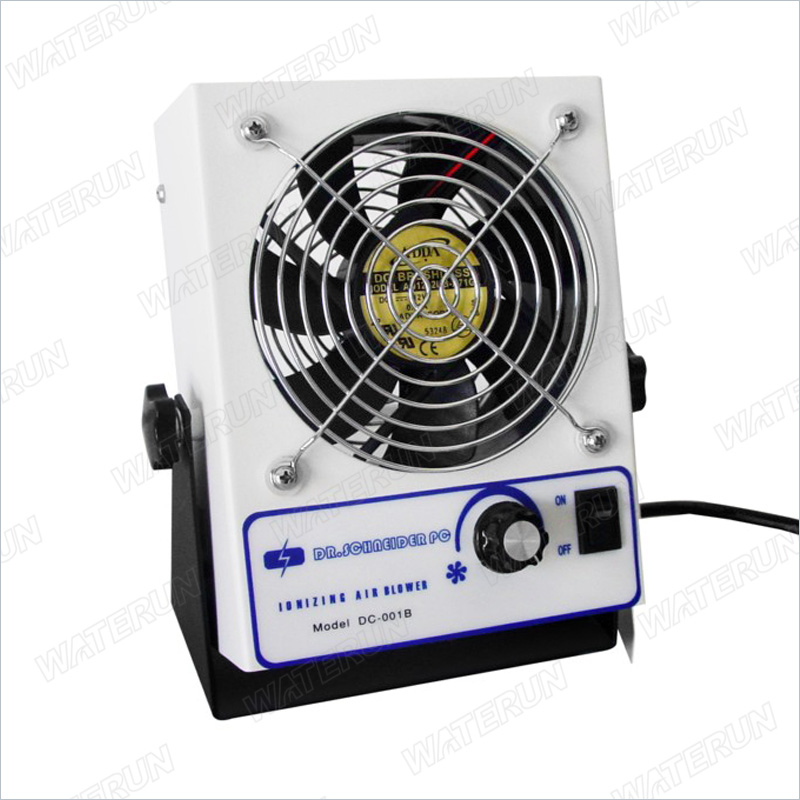
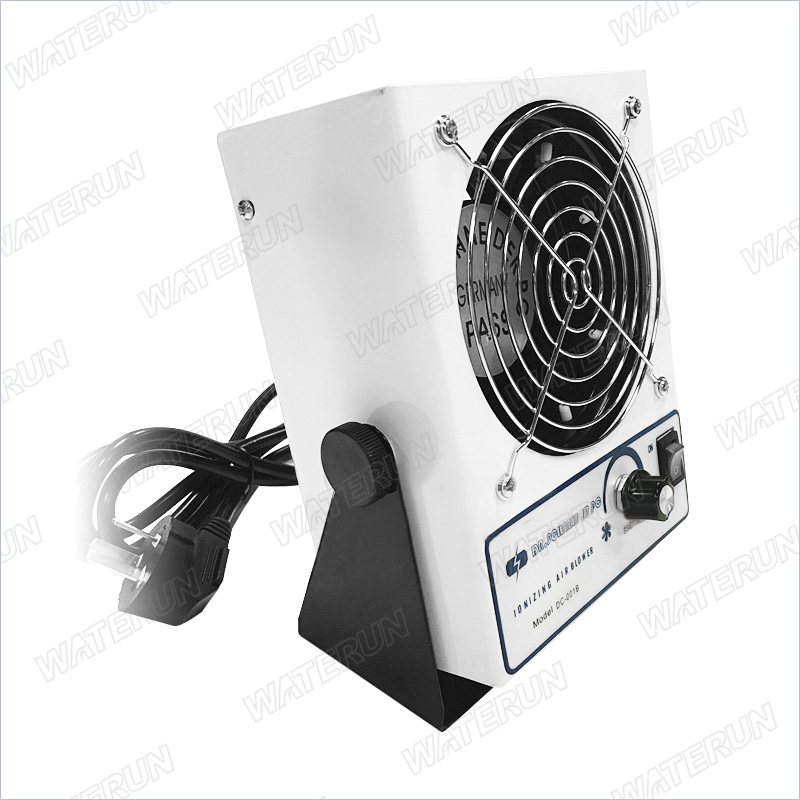
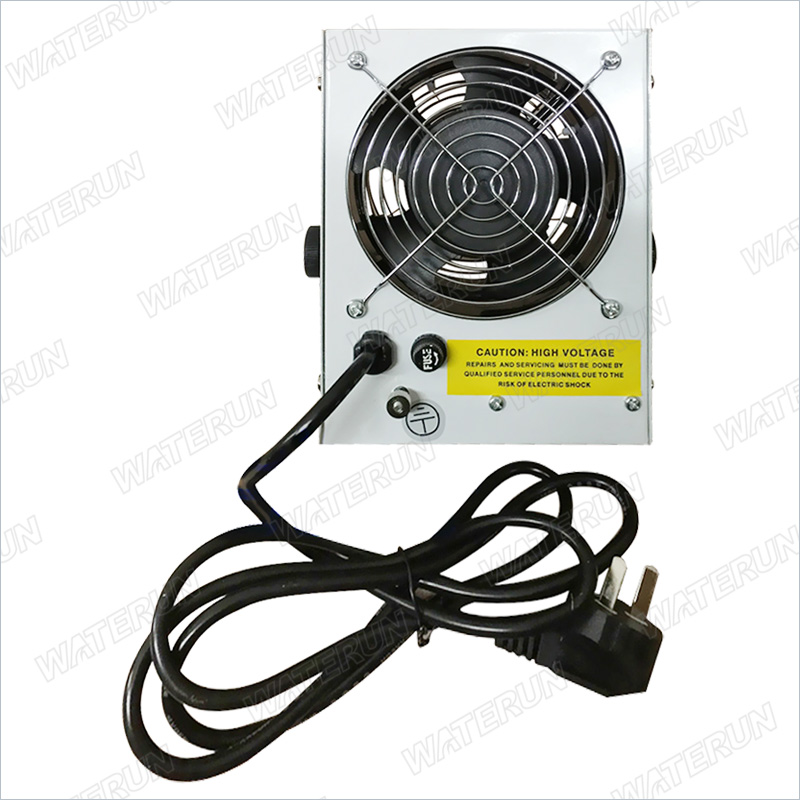
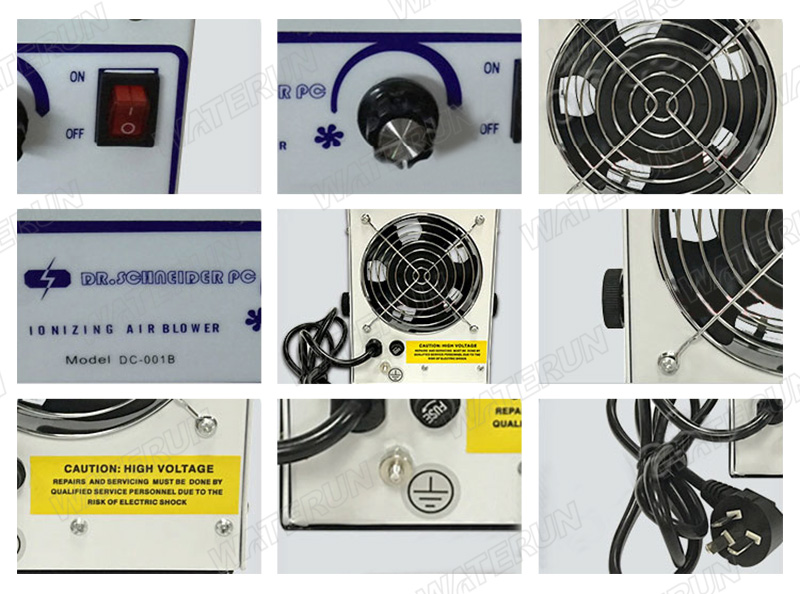
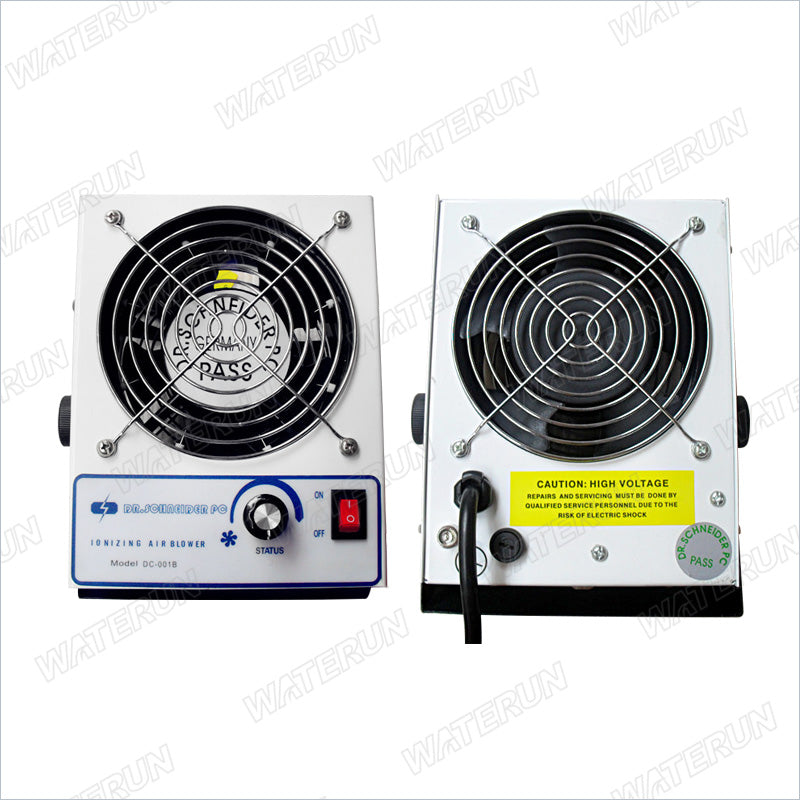
DC-001B Ionizing Air Blower
DC-001B Ionizing Air Blower
● Mobel: 1150D
● MOQ : 1 set
● Packing details:
● Subject to discussion:
Couldn't load pickup availability
DC-001B DC Ionizing Air Blower
_ Specifications:
| Input Voltage | 110V/60Hz or 220V/50Hz |
| Current Consumption | 0.08A or 0.04A |
| Operating Temperature | 0-50°c |
| Air Coverage | 30cm x 30cm |
| Size | 190(L) x 70(W) x 195 (H) mm |
| Weight | 1.8 kg |
| Air Volume | 50-90CFM |
| Limited power | ≤15W |
| Ion balance | ≤ +/- 5V |
_ Features:
1. Quickly neutralizes static charges.
2. Excellent ion balance
3. Light and compact, it can be used for machinery internal.
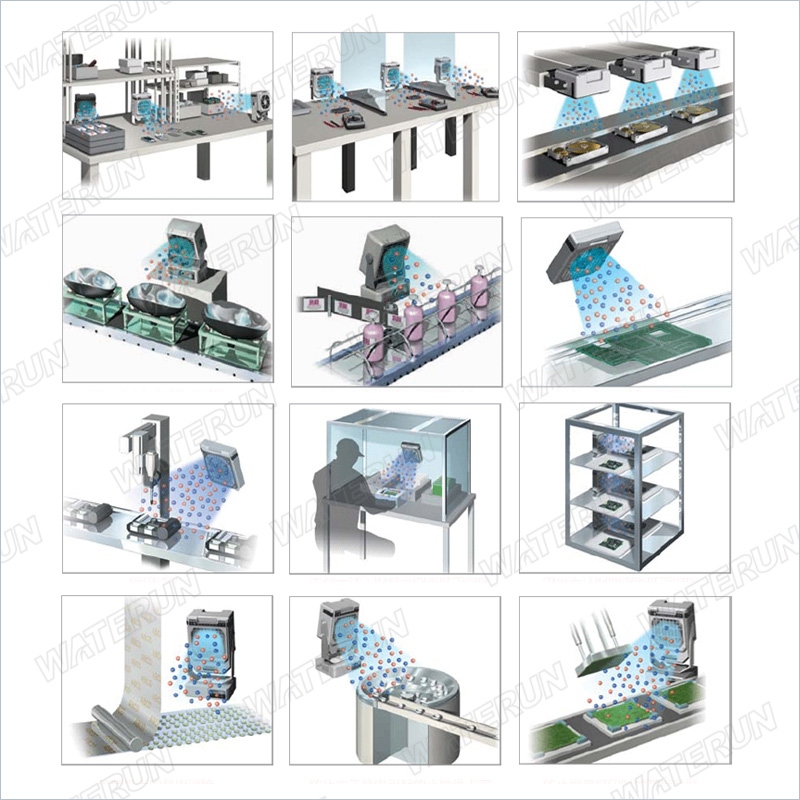
4. Applicable to working bench and production line.
_ Performance:
1. DC Ionizing. Small, quite and light weight, yet uncompromising in performance.
2. provides superior static charge decay rates over a targeted work surface area.
3. Can install in small area.